
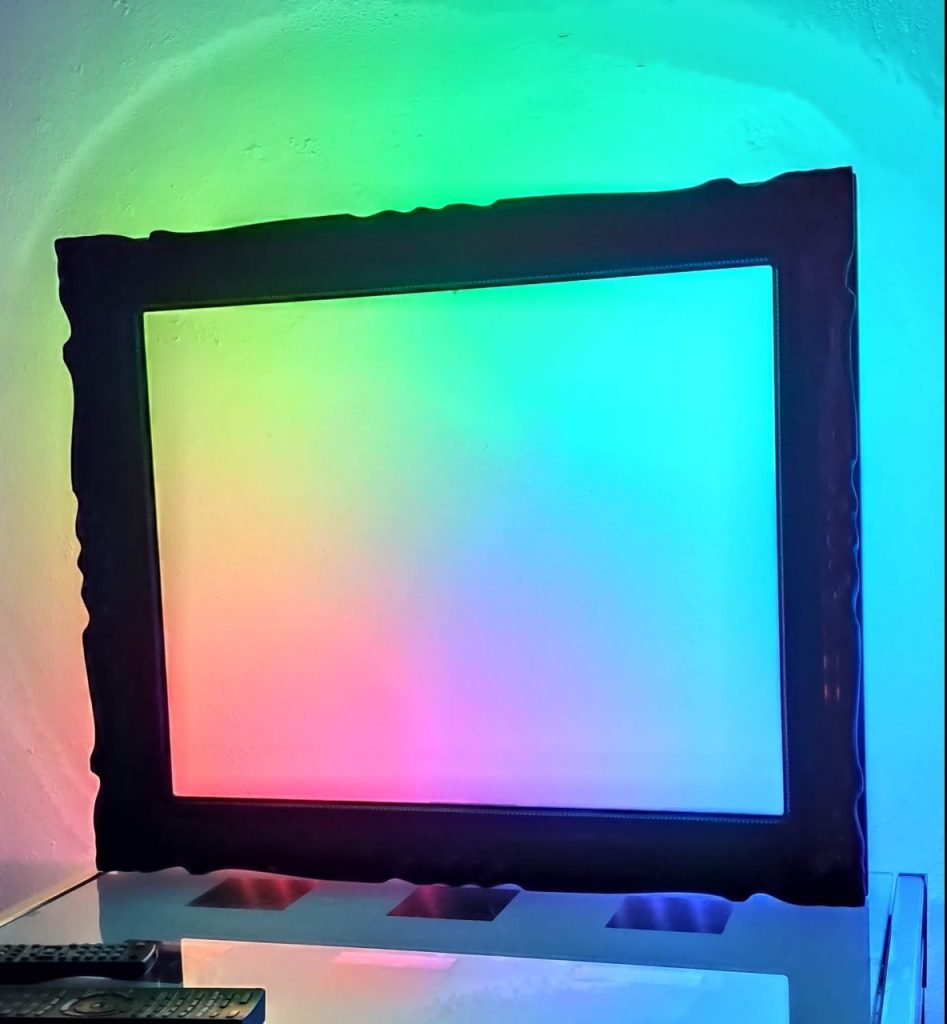
Combining old and new things is something I really like. I often see things and think: “Woaw, how would that look with LED’s on it?” I also like to be inspired by others and try to rebuild projects they built. That happened to me lately as I saw the frame lamp, Paulus from the Home Assistant team built. The idea was so cool that I wanted to build my own version of this frame lamp, so I started to look for the components I needed for this project.
Parts list
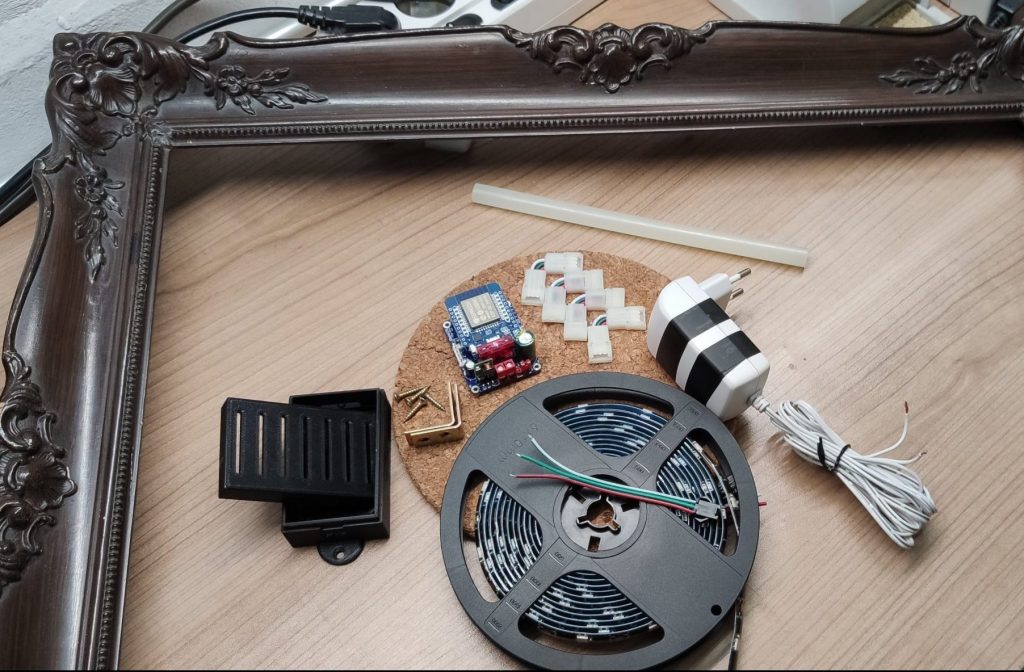
For this project we will use the following components:
- An old frame in baroque style
- A QuinLed Dig Uno
- A WS2812B LED strip 5V
- A 5V power supply
- 4 Corner connectors
- 2 Angles
- A 3D printed case for the Dig Uno
- Some screws
- Some hot glue
*Some links are affiliate links. If you use them to buy the parts for your project you will help me and my next project. These links will cause no extra fee or costs to you
Start building this thing
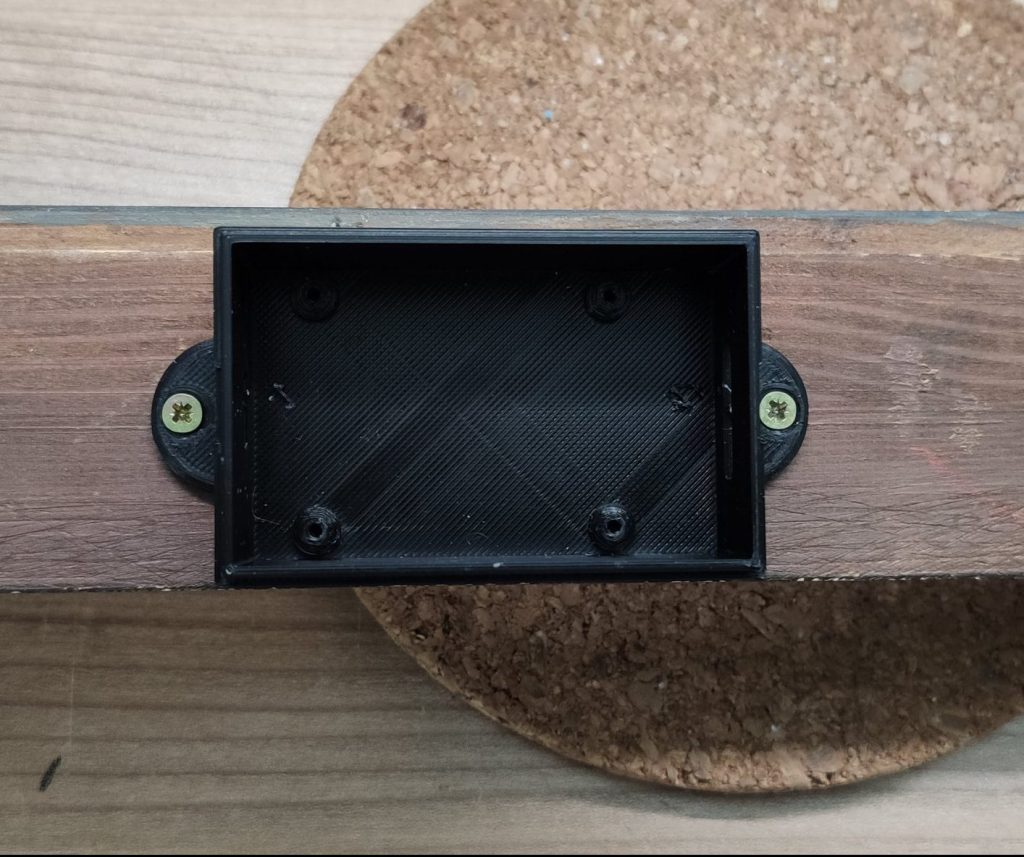
Start with centering the Dig Uno case in middle of the backside of the frame and screw it down. The case and the two angles will work as stands for the frame later on. Alternatively you can skip this step if you want to hang the frame.
Next up, solder three cables to the beginning of the led strip. If your strip is brand new you can simply snip off the connector because the wires will be connected directly to the Dig Uno.

Cut the strip
In this step, the strip will be cut and lined up with the frame. Check the dimensions of the frame and cut the strip in parts so that it fits on the backside including the corner connectors. This step is just to find the right dimensions for the strip, don’t glue it down yet.
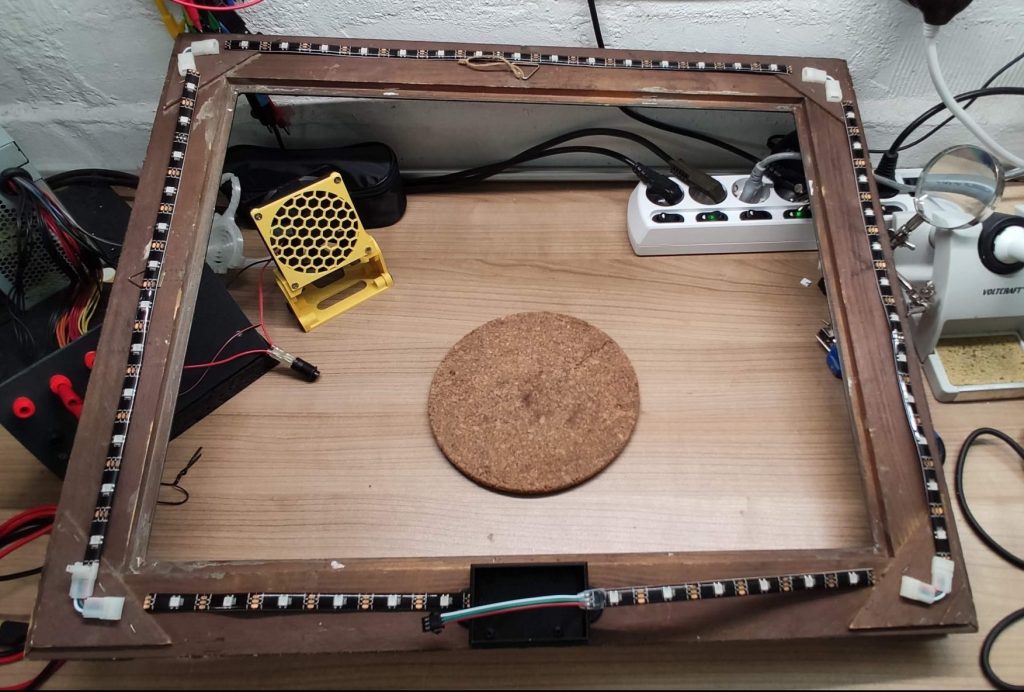
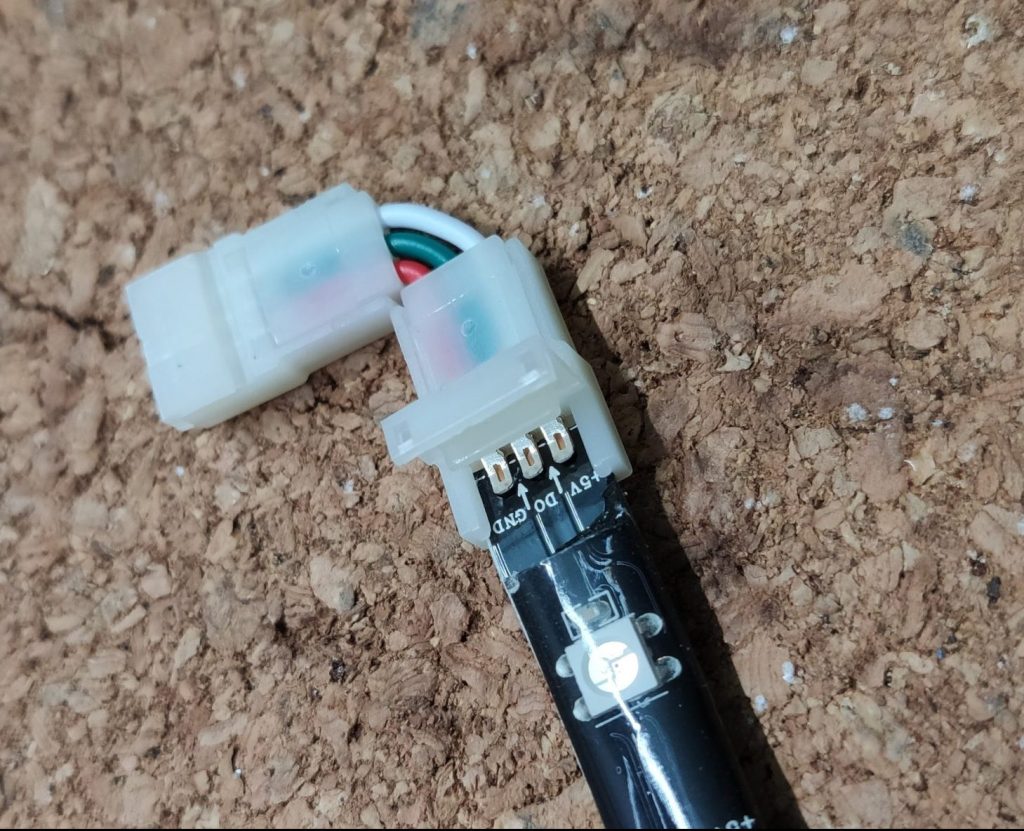
If the strip has a good length for the frame, connect the strip using the corner connectors. If you’re using IP65 strips like I do, you have to cut off a bit of the silicone coating.
Testing and hot glue
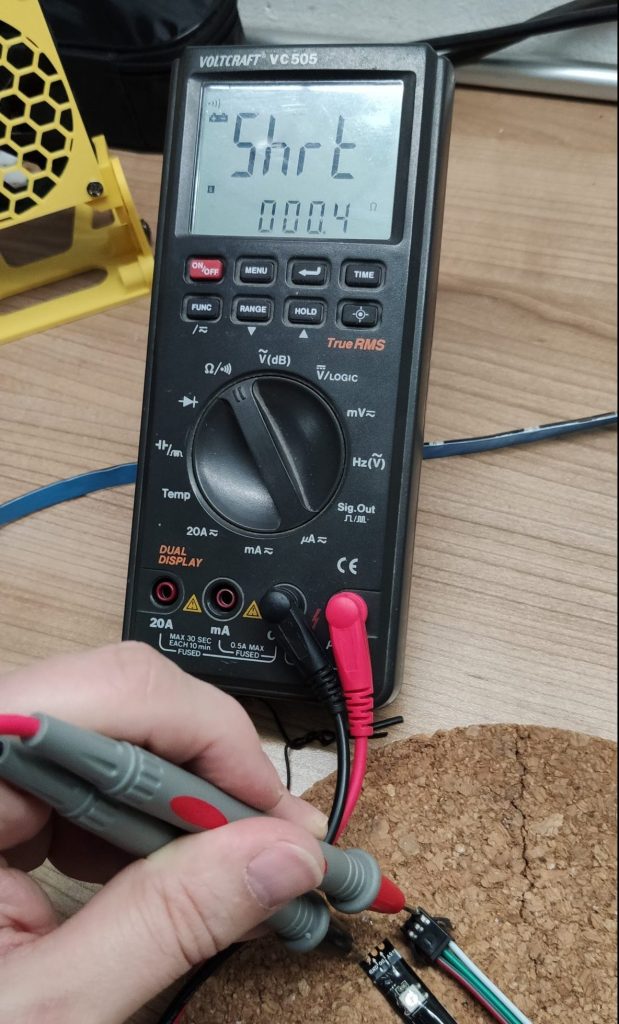
Before you glue down the strip to the frame, give it a test using a multimeter in continuity test mode. You should test the positive and negative rail to ensure that both have a good connection. Keep in mind that this will not work on the data-rail of the strip. If one of the two rails don’t work, check the connections on the corner connectors.
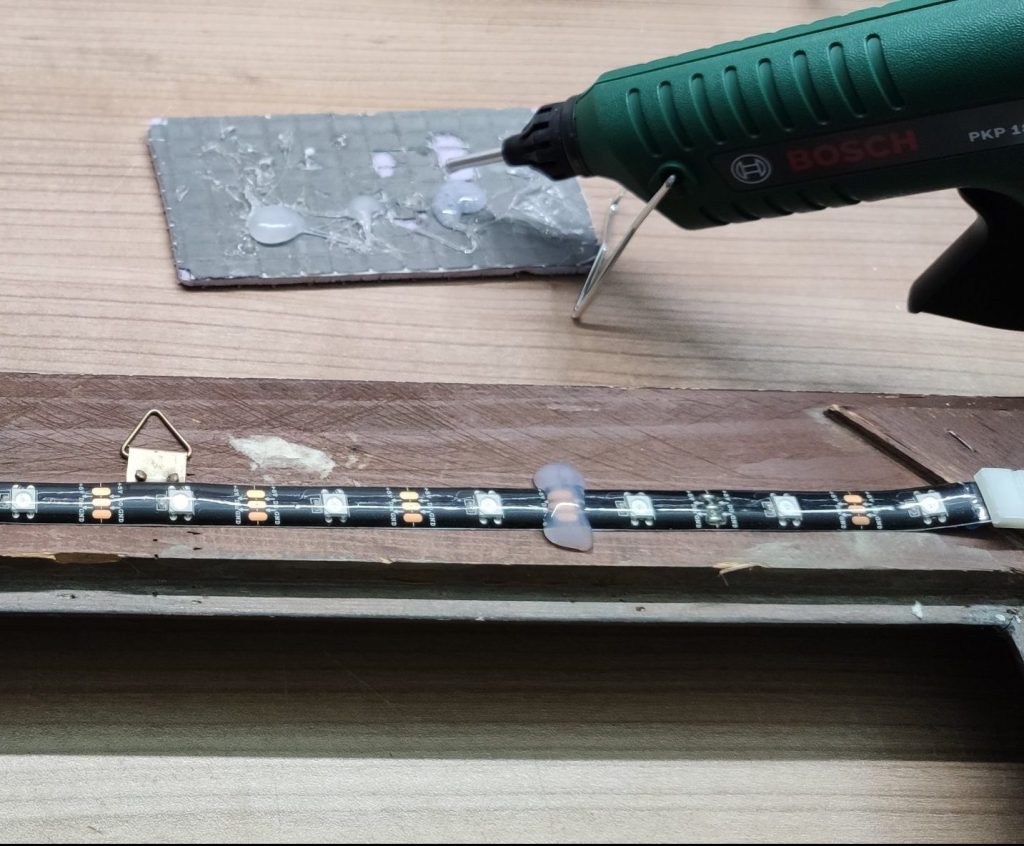
Next up, pull off the blue PVC from the double sided tape on LED strip and glue it to the frame. Then heat up you hot glue gun and hot glue the heck of it 😅 ensure that all corner connectors are glued down to the frame so that nothing can fall apart or loose connection.
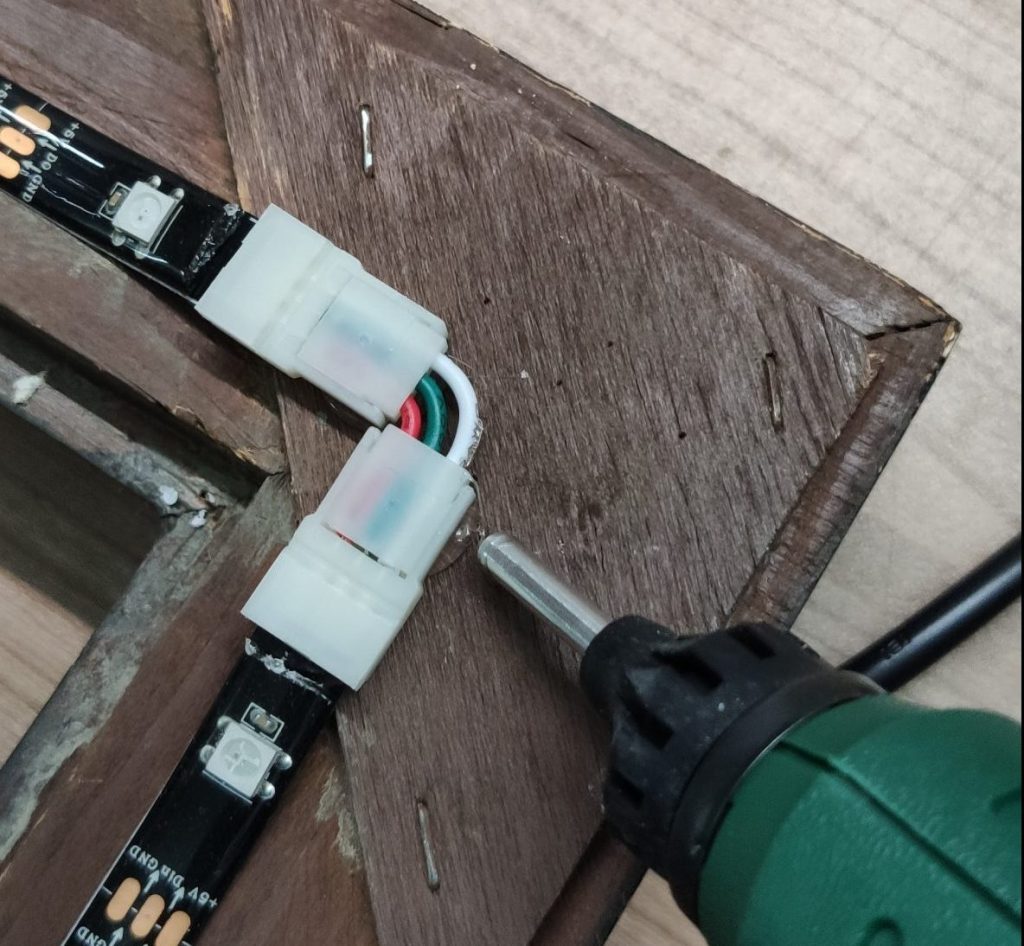
If you have so much trust into the double sided LED strip tape than I have, you can add some extra hot glue to the strip.
Connecting the Dig Uno
In the final section we will connect the Dig Uno to the strip and place it into the case. If you don’t know what a Dig Uno is, no problem! You can find all information about it on the quinled.info website. You can either buy a pre-assembled board with WLED installed or, if you’re a DIY lover like me, you can build the DIY version and get your hands dirty, which is a lot of fun 🤩
So grab the Dig Uno and place it into to case mounted on the frame. Then connect the LED strip to the controller board.

Last not least connect the power supply to the Dig Uno as well.

Build the stand
This step is optional, if you want to hang your frame lamp. But if you want to stand up the frame the angles on corners of the frame will give the whole construction more stability. So take the angles and screw them to the corners of the frame.

Final test
That it! So turn the frame and power it up to the the awesome result 😎 The frame works best on a white background, cause this will reflect the LED light better than a dark background.

Sum up
I really like this project, because its easy to build, requires nearly no soldering and it just looks beautiful. Big thx again to Paulus form Home Assistant for this idea and stunning result. 🤗