🔌💡DIY night light from a single smart bulb

As I bought my 3D printer I started searching cool stuff to print on Thingiverse. I found this cool night light with an LED bulb in it. My first idea was to use a smart bulb instead and integrate it into my smart home. So this article is about the build of this DIY night light and the traps I stepped into as start working on this alleged easy project 🙄.

The diy night light
The diy night light

Parts list

For this project we will use the following components

*Some links are affiliate links. If you use them to buy the parts for your project you will help me and my next project.
These links will cause no extra fee or costs to you.

All components
All components

Traps I ran into

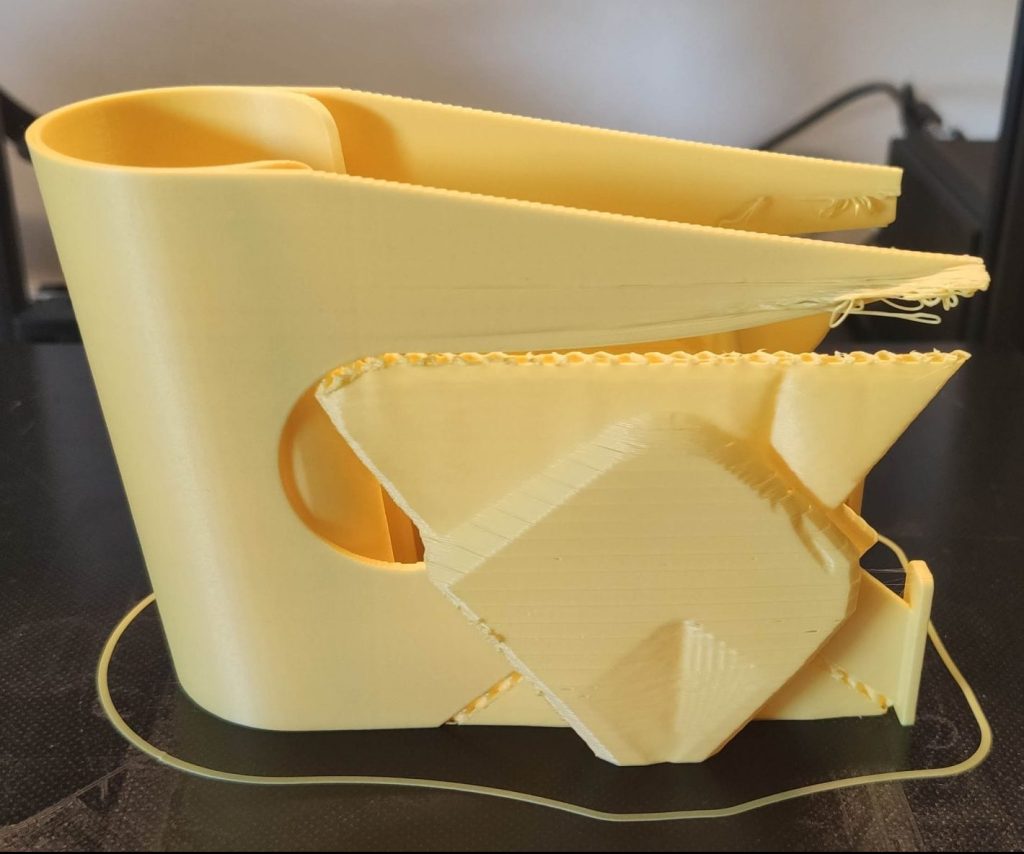
So simple the 3D printed light body looks like, so tricky it is to print. My first print went quite well until it reached the arms. One of my supports got loose which ends up in a slightly deformed print. My second print got problems on the feet’s. Because the touch points to the bed are so small your print needs a really good adhesion to the bed. Otherwise it simply pops of if it starts to print the 45° angle of the leg. This happen to me several times until I got the settings for a successful print.

Slightly failed print

The following settings worked for me. You might experience other things, but if you have no clue where to start, try these:

  • Layer hight: 0.2mm – 0.28mm
  • Support type: tree
  • Build adhesion: brim or raft

Build this boy

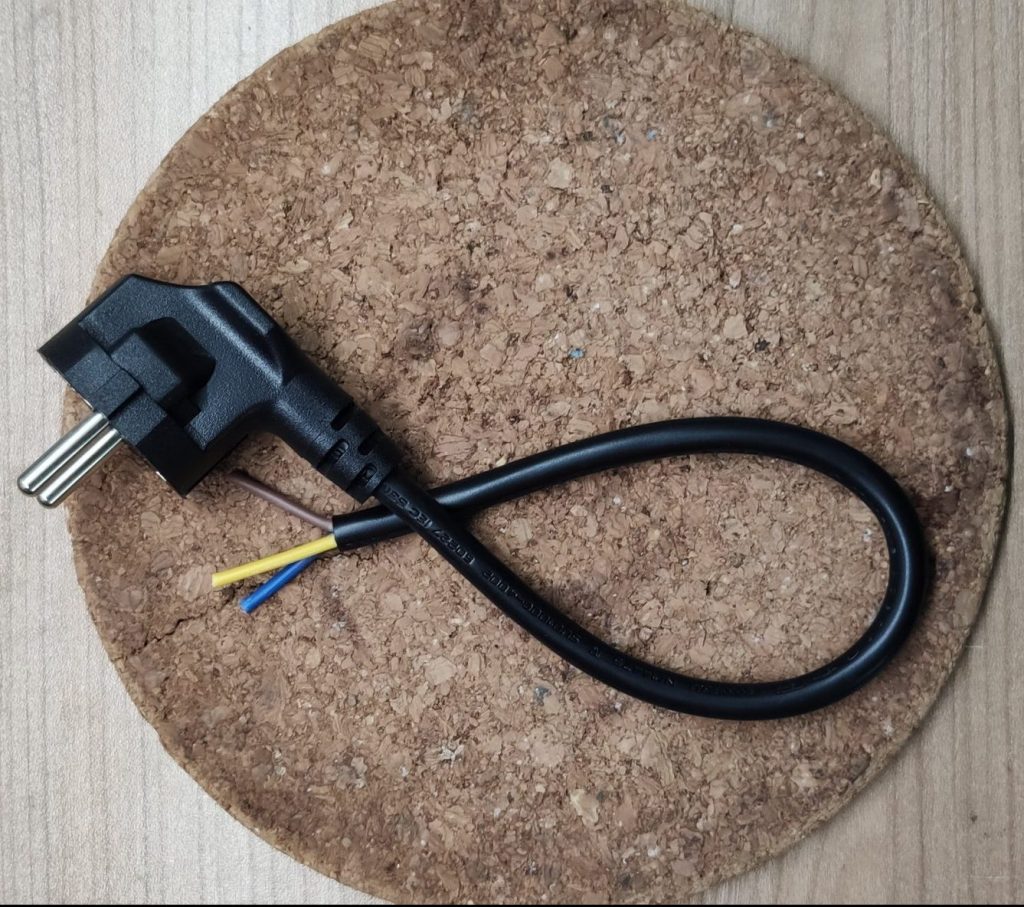
Start with cutting the power cord to about 30cm including the plug and strip of the black layer of isolation. You should, at least in Germany, end up with 3 cables. Life (black/brown), neutral (blue) and earth (yellow).

cut cable
cut cable

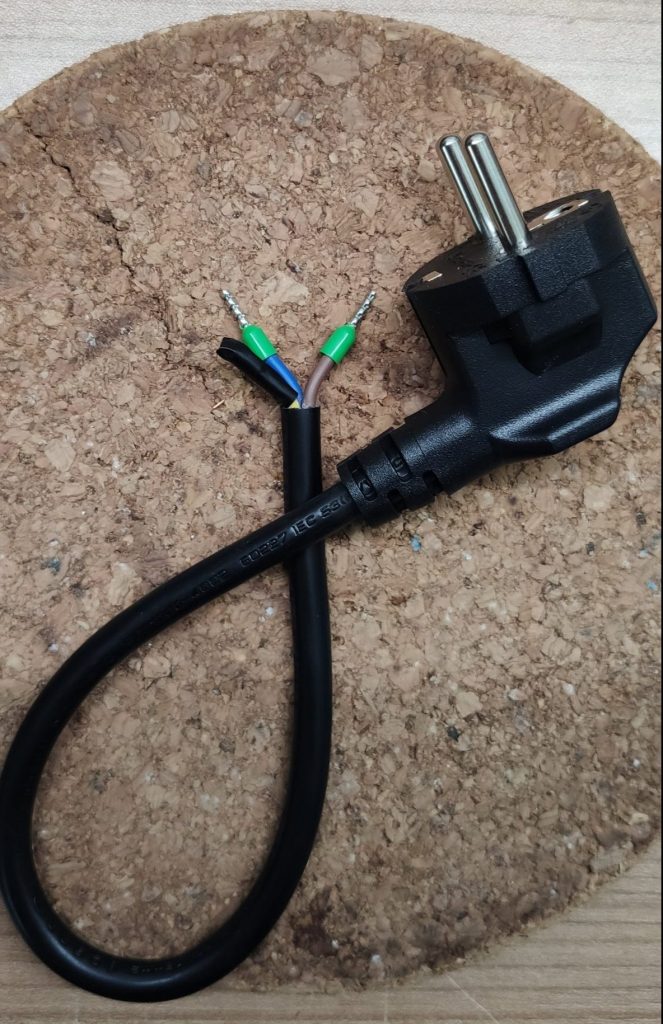
For the E27 socket we only need life and neutral, so remove the isolation of these and add ferrules to make the connection to the socket easier. Protect the yellow cable with some electrical tape.

Prepared cable with ferrules
Prepared cable

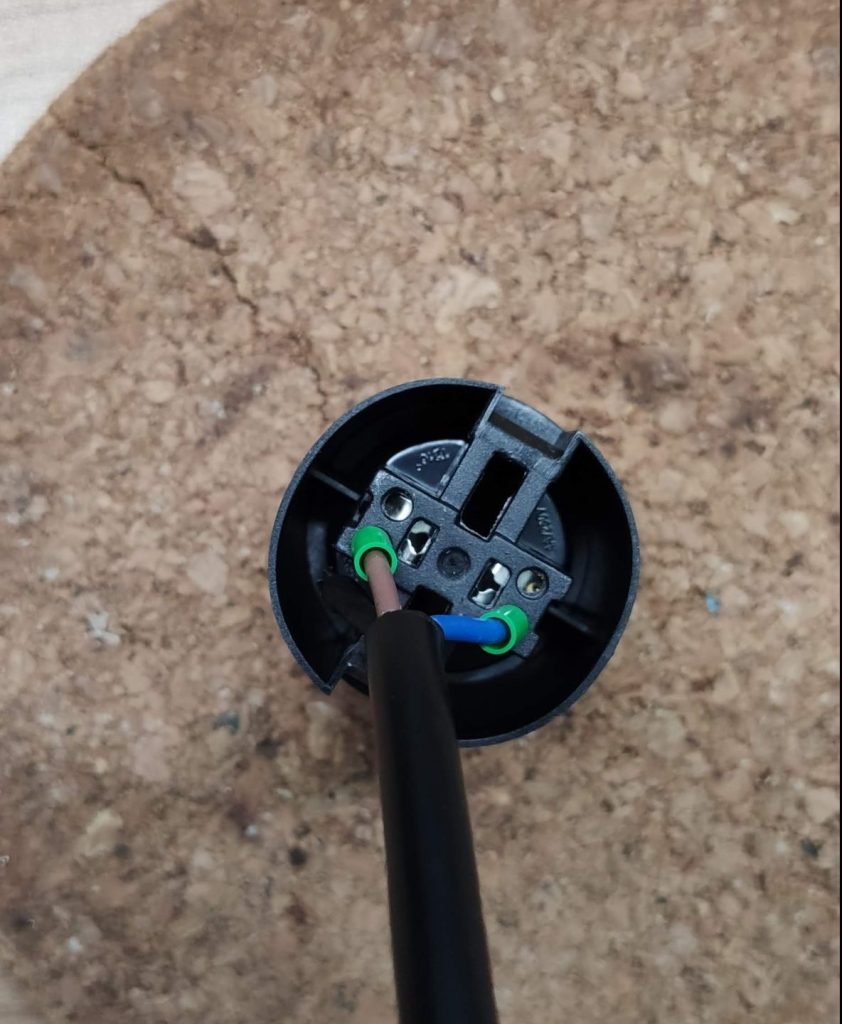
Next, connect the cable to the E27 socket. Slide the cable through socket and connnect the life and neutral wire to it. The direction of the cables doesn’t matter, cause we’re using AC. If the the cables are in place close the E27 socket.

Connected socket
Connected socket

You should end up with something that slides easy into the light body. Slide it into the light body from the top and arrange the cable that it fits into the arms/hands of the body.

Prepared light body
Prepared light body

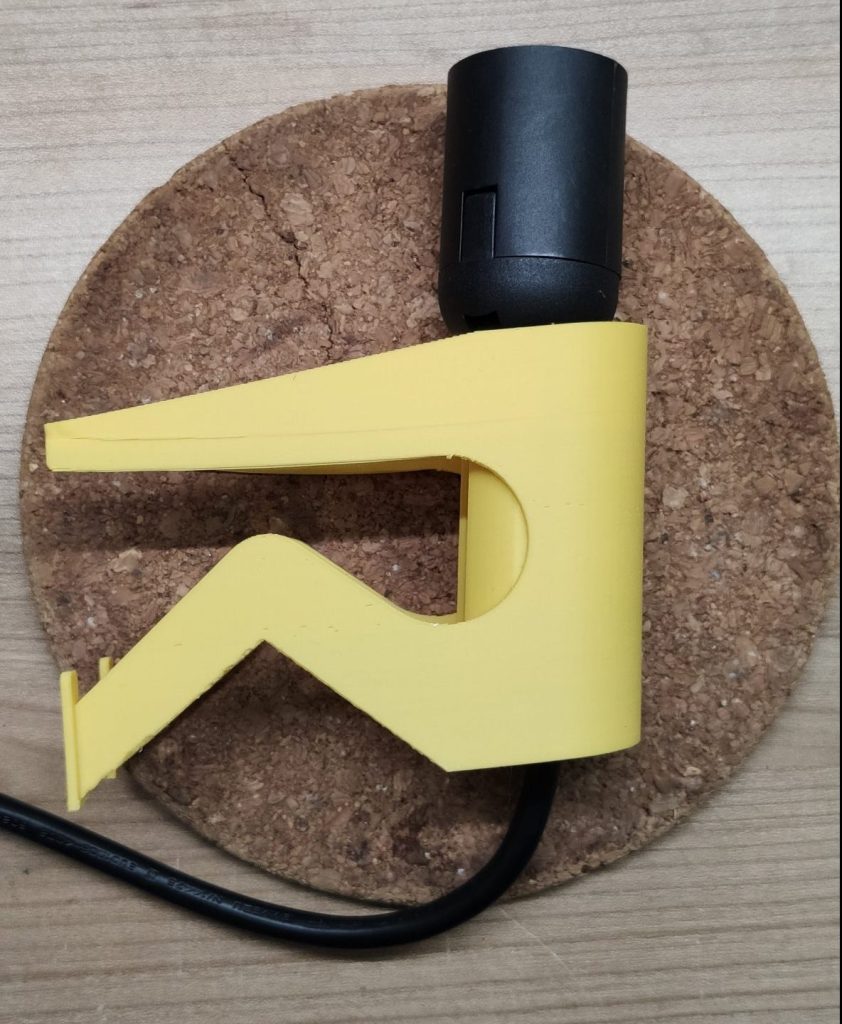
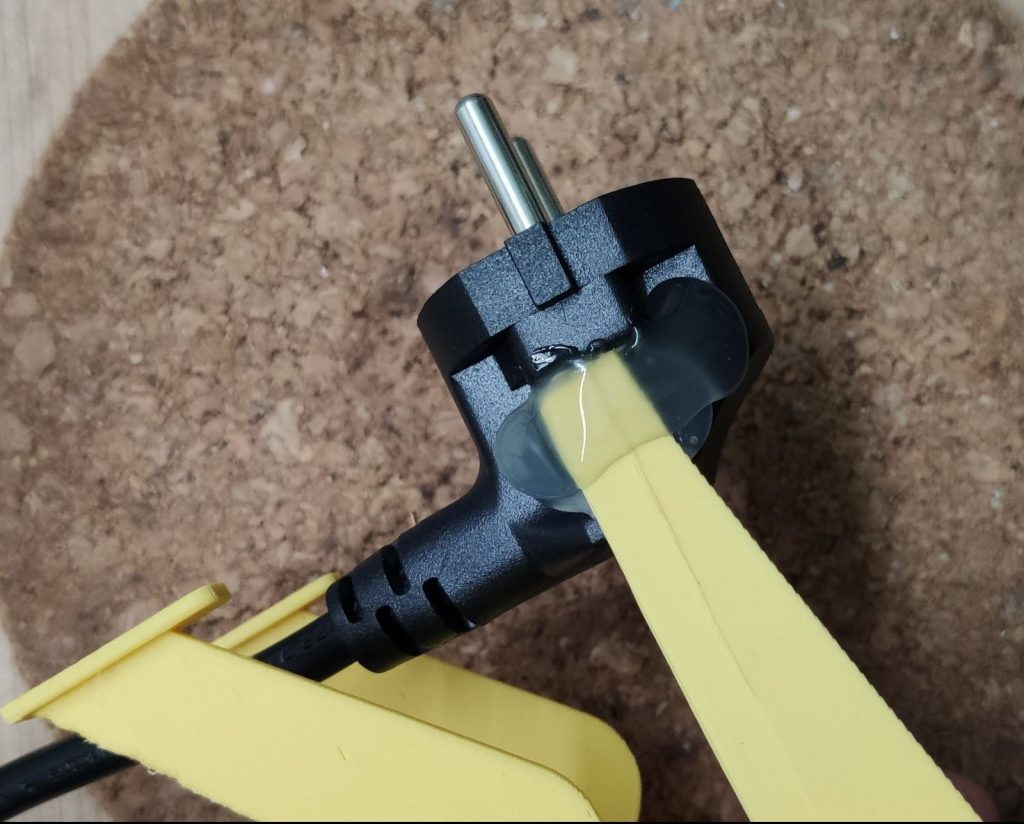
Use now some hot glue to hold the socket in place and also to glue the hands/arms of the body to plug.

Glued plug
Glued plug

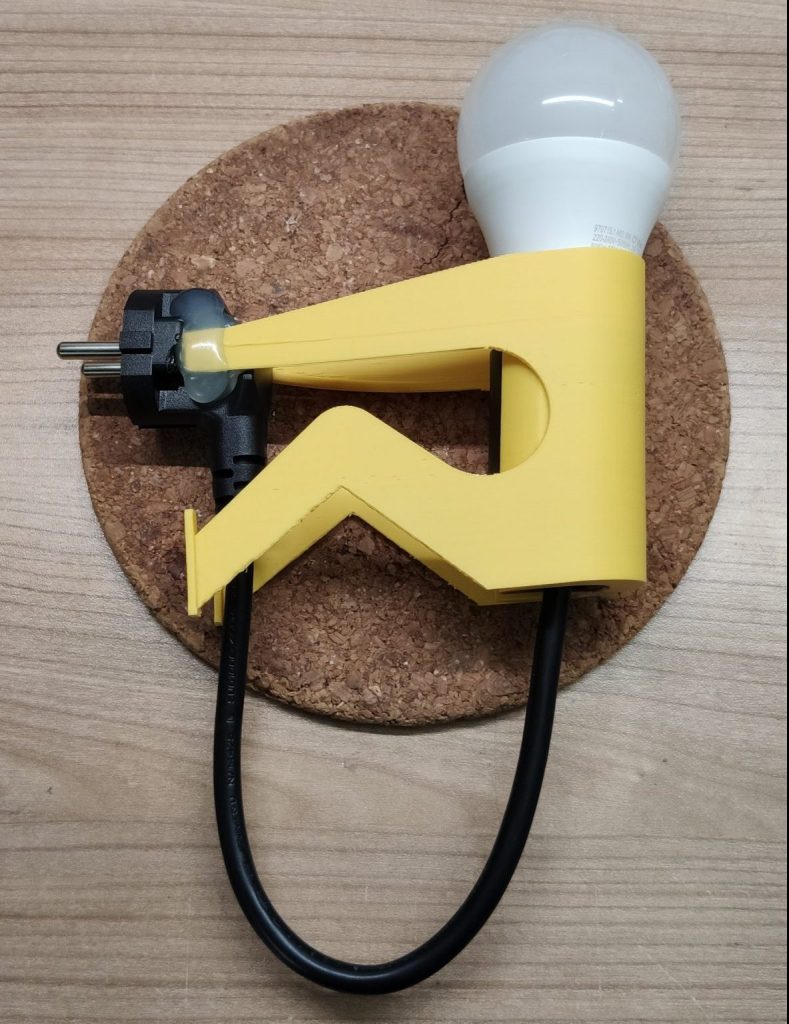
Last not least, screw in your smart LED bulb and plug the night light into a power socket. Depending on your selected bulb configure it the way you have to do it and you are done 🤓.

Night light in action

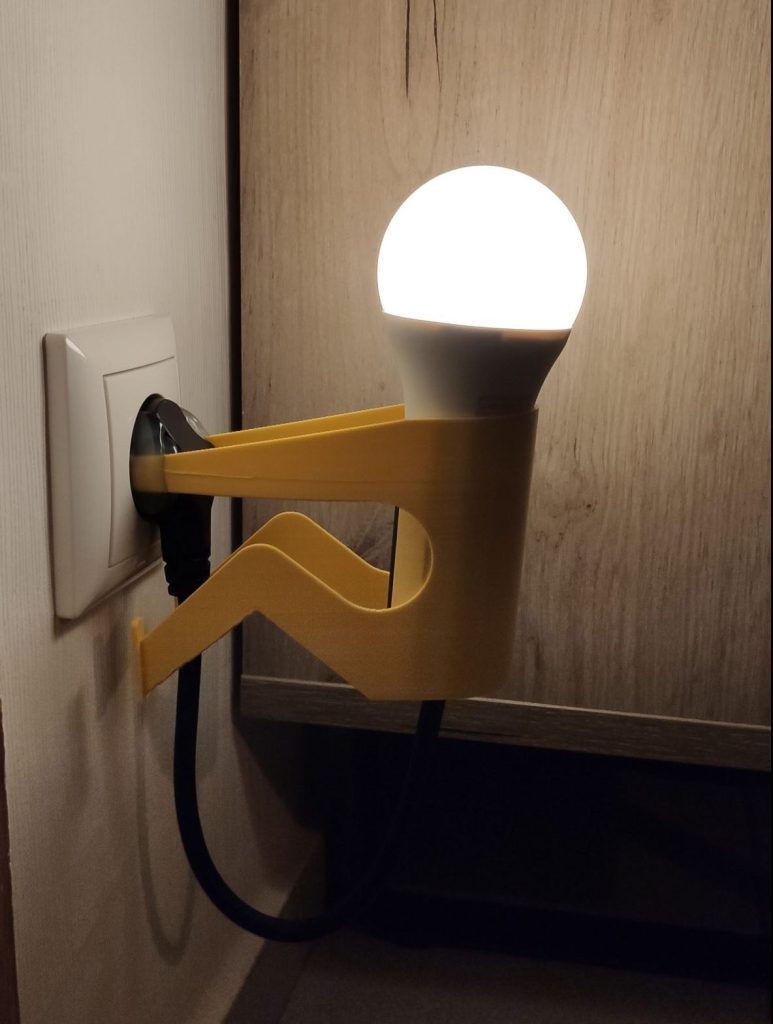
And that’s it! Besides from the 3D printing part, a very simple project that looks just amazing 😍. I hope you had at least so much fun as I during the build (excl. the failed prints of cause 🙄) and I would love to see some images of your DIY night lights 😊.

🔦👧🧒DIY marmalade lamp you can build with your kids

Couple months ago my kids ask me to build something with them. So I started to think about a small project that is simple and teach them something about electricity and tinkering. I ended up with a rechargeable lamp based on a marmalade jar. As I posted the results on twitter I got some feedback and PM’s on how we built it and what components were used. This article is a complete walk trough of this project including an updated component list.

Marmalade lamp

Parts list

For this project we will use the following components

*Some links are affiliate links. If you use them to buy the parts for your project you will help me and my next project. These links will cause no extra fee or costs to you

All components

Time to teach the kids how to solder

Lets start with the battery. I use 3400mAh Li-ion battery with a voltage of 3.7V. This fits perfect to the charging unit and also lights up the cheap led strip pretty well. This battery comes with already soldered metal tabs, which makes wire soldering much easier. Take some wire and solder it to tabs. Keep an eye on the polarity and the cable colors. Is used red for positive / VCC and black for negative / GND.

Soldered wired on the tab

Next, secure the connections and the sides of the battery with electrical tape to prevent shorts.

Finished battery

Now grab the charging unit and presolder the pads on non USB-C side. The inner pads are for the battery the outer pads are for the load / the led strip in our case.

Presolder the battery and load pads

After presoldering the pad grab the battery and solder the wires to the inner pads. Double check the polarity and the markings on the board. The positive side is marked with B+ and the negative with B-

Connected charging unit

You can now test the charging unit by hooking up an USB-C cable. If it’s in charging mode you will see a red led light up. The battery is fully charged if the blue led will light up. In case you see both leds come up and one of them starts to flicker heavy, you might have a problem with you connection to the battery.

Charging process

Bring up the lights

Before we connect the charging unit to the led strip we have to prepare the wires and the jar lid. First drill a hole into the lid of the jar where the button fits in. I used a conical metal drill bit to find out the perfect size, but any large metal drill should work.

Ready to drill

Now take a piece of wire and separate the black and the read wire. Then cut the red in half and presolder all ends.

Prepared wires

After that solder the to read cables to the button and put it into the lid of the jar. To secure the soldering joints and preventing shorts apply some small heat shrink to the button.

Lid with button

Grab now the led strip and the black wire and solder it onto the negative pad on the led strip. Take then the jar lid and solder one red cables to the positive pad on the led strip. As well as on the button secure the soldering joint with a heat shrink

Led strip connected to the button in the lid

The two wires left over can now be soldered to load pads of the charging unit. Simply red to red and black to black. That completes the circuit and the marmalade lamp is ready for a first bench test. So press the button in the lid and the led strip should light up. If you want, you can wrap the charging unit in some kapton or electrical tape for more security.

Bench test

Last not least, put everything into the jar, screw on the lid and you’re done 🥳.

Final reslut

Some Mesurements

To teach the kids more about current you can calculate approx the life time and the charing time of the by measuring the current which is use by the led strip and which is provided from the charging unit during the charging process.

Current used from the strip

With a usage of 166mA on 3400mAh battery the strip should light about ~20h. The charging unit provides about 630mA. This results in a charging time of round about ~5h.

Charging current

Sum up

That was fun! Hope you enjoyed this project as much as me and my kids did. You could modify this project a bit to make it more secure for younger children, e.g. you could replace the marmalade jar with transparent plastic box from the dollar store. You can also let the kids more customize it. e.g. they could glue some colored transparent paper or sticker on it.

If you like this project, feel free to share the article or an image of the DIY marmalade lamp you built 😉